powered by PiQR.io


Who hasn’t had that moment while baking? You’re all excited about making a DIY cream cake, but due to lack of experience, the cream turns out rough, lumpy, without shine, and separated into oil and water. Clearly overwhipped! So, do you give up?
Don’t panic!Overwhipped cream can be saved by gently folding in a small amount of liquid, chilling it to allow the fat to re-solidify, or transforming hardened cream into buttercream or a tangy cream sauce.
Today, I’m going to share an ultra-useful cream rescue guide to help you easily save overwhipped cream!
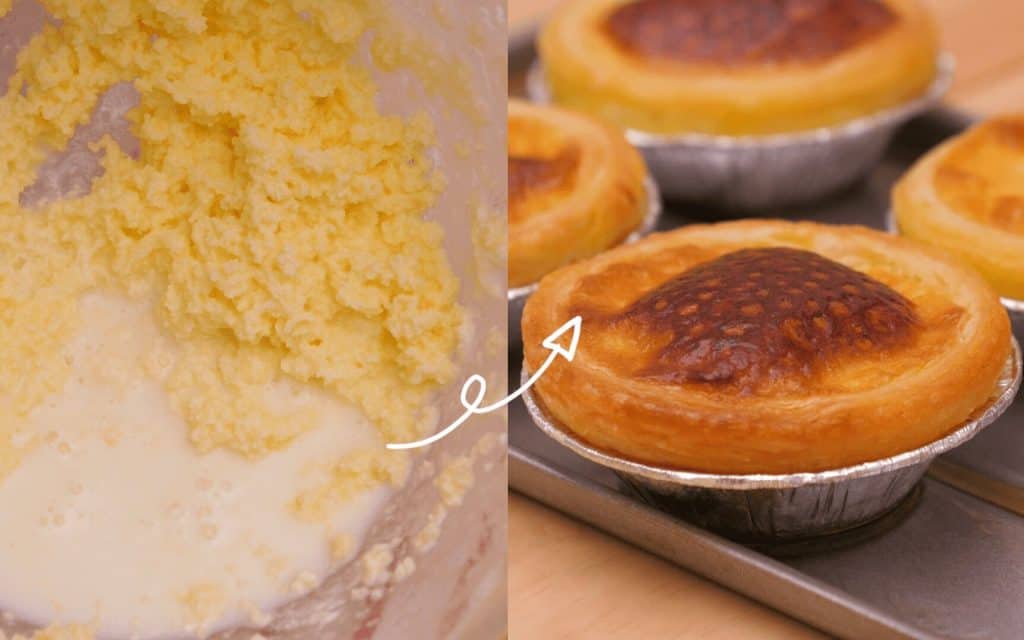
Before we dive into the fix, let’s first understand the true nature of overwhipped cream. The main component of cream is milk fat. During the proper whipping process, fat molecules trap air to form a stable foam structure. But if you whip too hard, these fat molecules break apart, causing the delicate foam to collapse, releasing liquid (whey), and the texture turns rough and clumpy—sometimes even sticky to the touch.
Here are the common pitfalls:
Whipping time too long: Newbies often think the cream isn’t whipped enough, so they continue, leading to overwhipping.
Temperature issues: If the cream is too cold (below 4°C) or too warm (above 10°C), it can easily overwhip.
Wrong tools: Using a high-speed electric mixer and whipping too aggressively.
Suitable for: Light clumping with no significant separation of liquid.
Steps:
Take 1-2 tablespoons of unwhipped cream (or room temperature milk), and slowly pour it along the side of the bowl into the overwhipped cream.
Use a manual whisk at low speed to gently stir in a circular motion, folding from the bottom upwards, like you’re stirring a dish.
Observe the consistency: If it’s still clumpy, add another half tablespoon of liquid, and repeat until the cream is smooth and silky. (Do not use an electric mixer—this will only make it worse!)
Tip: Add liquid slowly and in small amounts. Adding too much at once can turn the cream into a runny mess!
Suitable for: Cream that has separated into liquid, with hard clumps.
Steps:
First, pour out the excess liquid from the bowl (but leave a little behind).
Use a spatula to break apart the clumpy cream and loosen it up.
Cover the bowl with plastic wrap and refrigerate for 10-15 minutes to let the fat re-solidify.
After chilling, add 1 tablespoon of cream and gently mix with a manual whisk until smooth.
If the cream has turned as hard as butter, don’t throw it away—turn it into something useful!
Add 1 tablespoon of melted butter and 1 tablespoon of powdered sugar, mix it up, and you’ll have a simple buttercream suitable for spreading on cookies or filling sandwiches.
Mix with an equal amount of yogurt to create a tangy cream sauce, perfect for drizzling over fruit cups.
Control the Temperature
The ideal temperature for whipping cream is 5-7°C. Take the cream out of the fridge about 5 minutes before using it. In the summer, place an ice pack under the bowl to maintain a lower temperature. In winter, avoid placing the cream near heat sources. A stable temperature will help you get it just right with fewer mistakes.
Use the Right Tools for Less Effort
When using a cream charger, don’t overdo it by pressing the valve constantly! The correct method is:
Pour the cream into the container and seal it tightly.
Press the valve for 2-3 seconds at a time, then stop for 10 seconds to allow the air to distribute evenly.
Repeat 3-4 times, then open the lid and check the consistency. If it’s not quite there yet, add another 1-2 bursts.
This technique helps prevent overcharging and will give you smooth, stable whipped cream.
Observe the Consistency, Not the Timer
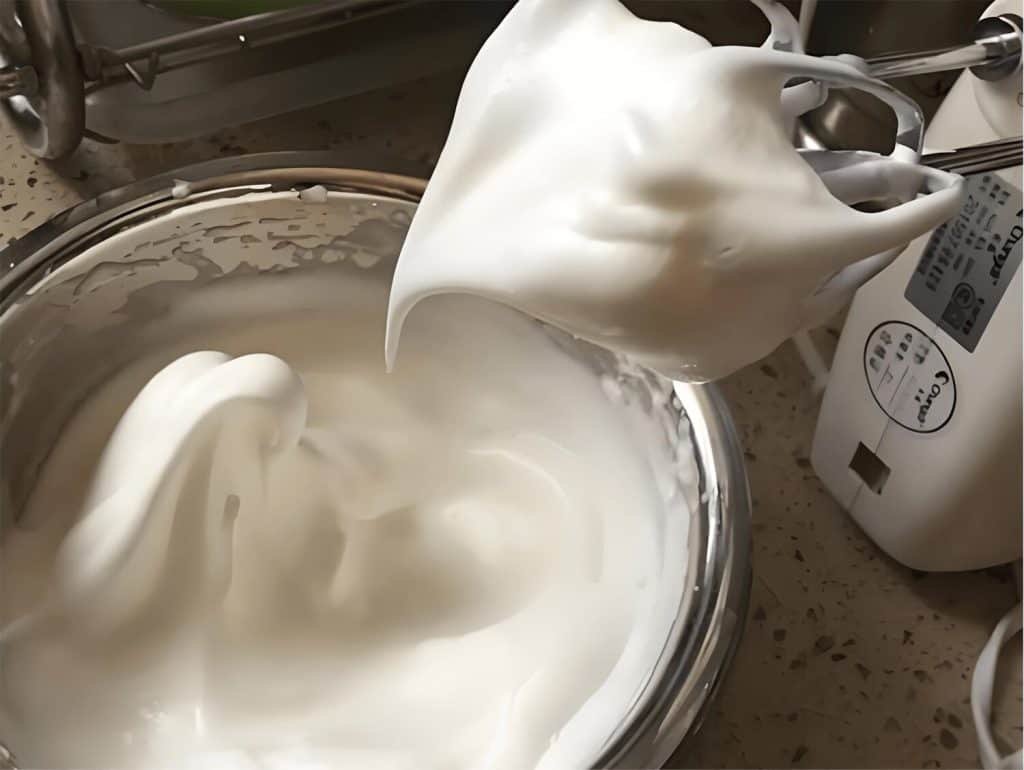
Beginners, don’t rely on a set “whipping time” like 3 minutes. Different cream fat contents and ambient temperatures affect the time. When the cream forms stiff peaks that slightly bend but don’t drip, it’s done. Any further whipping will cause overwhipping!
Next time you find yourself with overwhipped cream, don’t panic. Try these methods and you might just end up with a pleasant surprise. Use the right techniques to ensure that no cream goes to waste!
If you still have more questions about whipping cream, feel free to visit Cream Deluxe. Let’s unlock more baking tips together!