powered by PiQR.io


Freshly piped onto a cake but slowly collapsing? Or your carefully crafted dessert starts leaking water after just half an hour, ruining its look?
Don’t worry. The key to stabilizing whipped cream lies in temperature control + the right ingredients + proper whipping.
Today we’ll explore exactly how to maintain perfect whipped cream shape—even in summer—for long-lasting decorative finishes!

Before solving the issue, let’s look at common causes of unstable whipped cream:
Low fat content: Using cream with less than 30% fat
Temperature mismanagement: Cream not well chilled, warm tools, or high room temperatures prevent the milk fat from solidifying.
Over- or under-whipping: Too little whipping gives no support; over-whipping causes grainy butter.
Neglected details: Grease or water in the bowl, or adding too much syrup/juice, destroys the cream’s structure.
Cream stability depends heavily on the ingredients. Keep these in mind:
Prioritize high-fat cream: Use products with over 35% milk fat (check the label). They whip into firmer structures.
Avoid risky choices: UHT (ultra-high temperature) and low-fat creams tend to leak. Choose pasteurized high-fat cream instead.
Chill the cream in advance: Refrigerate for at least 12 hours at 4°C to allow fats to fully solidify. (For emergencies, place in freezer for 20 mins—but don’t let it freeze solid.)
Cool your tools: Chill your mixing bowl and beaters for 30 minutes. Metal tools work best after chilling.
Control room temperature: Use air conditioning to keep below 25°C in summer. Avoid direct sunlight.
Monitor temperature during whipping: If the bowl feels warm, pause immediately and refrigerate the bowl and cream for 10 minutes before continuing.
No more wild mixing!How to Judge Whether to Keep Whipping: The Three Stages
The essence of whipping cream is incorporating air evenly into the fat, creating different textures depending on its intended use. The technique may vary depending on your tools and purpose, but the key lies in recognizing the right stage.
If you enjoy hands-on control or only need a small amount (e.g., dessert for 1–2 people), a whisk—manual or electric—is the traditional choice.
How to do it:
With a hand whisk, move quickly in circular motions to gradually incorporate air. The cream will thicken from liquid to fluffy, with its volume expanding.
With an electric mixer, begin at low–medium speed to avoid splattering, then switch to high once visible trails appear to speed up aeration.
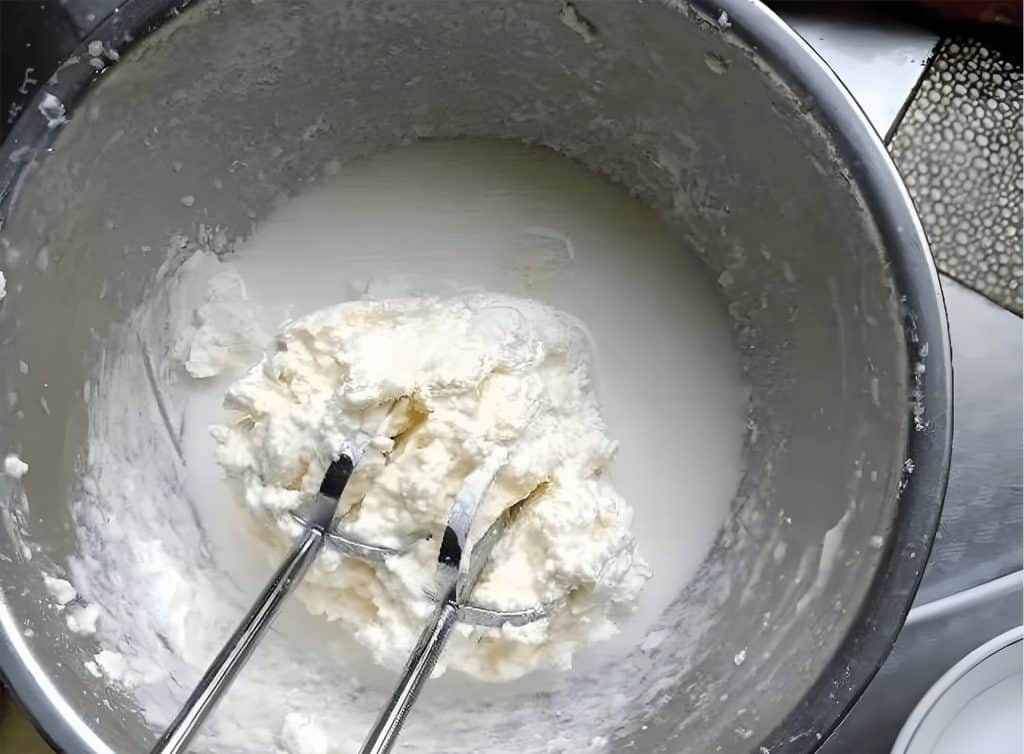
How to judge the stages:
Soft peaks: Lift the whisk, and the tip of the cream droops slightly like a hook. Perfect for fillings, layering, or direct consumption—smooth and light.
Stiff peaks: The tip stands upright without drooping, and the texture holds clear lines. Ideal for cake piping or decorative work.
Overwhipped: Grainy, rough, with liquid separating—at this point the cream is breaking into butter-like lumps. It cannot be salvaged and must be restarted.
For efficiency or bulk preparation, a cream charger is the faster solution.
Hand-whisking 100 ml of cream may take 5–8 minutes, and even an electric mixer requires constant monitoring. A cream charger, however, incorporates air within seconds—ideal for bakeries, cafés, or home gatherings.
Why choose Cream Deluxe:
Purity: 99.9% high-purity gas ensures no off-flavors, giving cream a finer, smoother texture with excellent stability—it holds its shape for 1–2 hours without collapsing.
Convenience: Simply pour cream into the dispenser, connect the charger, and press the lever. Tilting helps the gas mix more evenly. No prolonged whipping required.
Flavors: Available in options like strawberry and pineapple, adding natural aroma without artificial extracts—great on fruits, coffee, or desserts.
Stage check remains the same:
Soft peaks for direct serving, stiff peaks for decoration, and the same risk of curdling if overcharged.
✅ Key takeaway: Whether you enjoy the slow rhythm of whisking or the efficiency of a cream charger, always judge by the “peak stage.” Match the technique to your time, portion size, and purpose, and you’ll always get the perfect whipped cream.
Want your whipped cream to last longer? Choose a stabilizer based on your needs:
| Stabilizer | Amount (per cup of cream) | How to Use | Pros | Cons | Best For |
| Powdered Sugar | 1–2 tablespoons | Add when cream shows lines while whipping | Sweetens, easy to use | Weak stabilizing effect | Direct consumption, simple decor |
| Corn starch | 1 teaspoon | Mix with powdered sugar, add mid-whipping | Cost-effective, no flavor | Excess = powdery texture | Cake fillings, room-temp use |
| Gelatin | 1/4 teaspoon | Soak in cold water, melt, blend with some cream first | Excellent shaping & hold | Rubbery texture in heat | Hot climates, 3D decor |
| Cream Cheese | 2–3 tablespoons | Soften and whip with cream | Rich flavor, smooth mouthfeel | Must control softness | Mousse cakes, filled desserts |
| Milk Powder / Cocoa | 1 tablespoon | Mix with cream at start | Adds flavor, helps stability | Alters color and taste | Chocolate desserts, coffee tops |
Tip: Beginners should start with cornstarch, then move on to stronger agents like gelatin once familiar.
Want piped flowers to last 8+ hours?
Use 35% fat cream + gelatin stabilizer
Whip to firm peaks and use immediately
After decorating, refrigerate for 30 minutes to set shape
In summer, work in an air-conditioned room and keep finished cake chilled
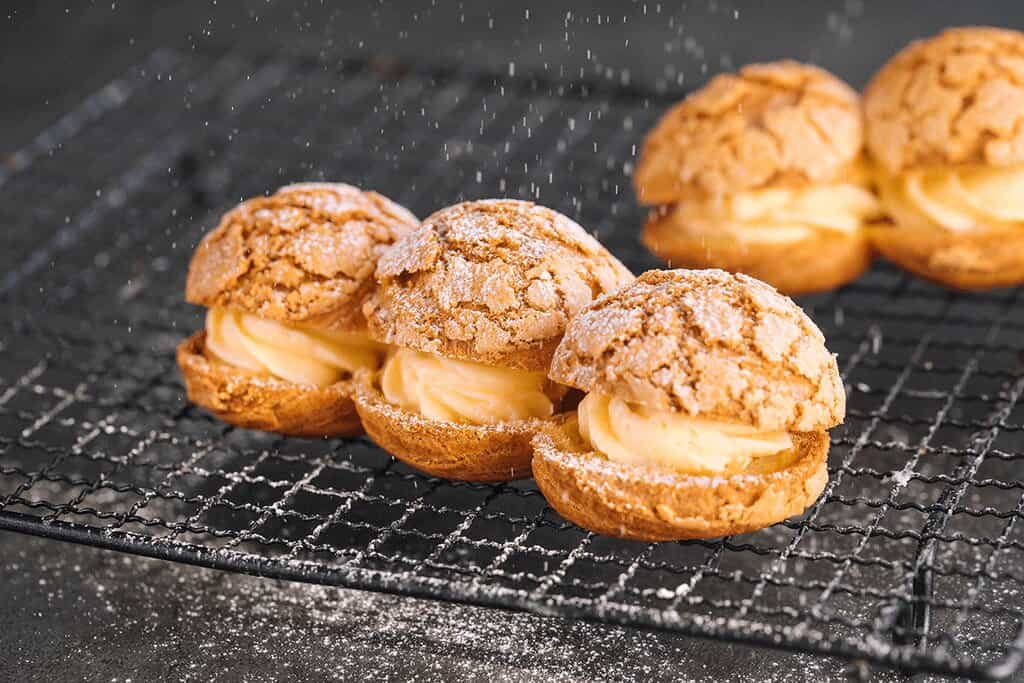
Perfect for crepe cakes or cream puffs:
Soften cream cheese, mix 1:1 ratio with cream
Add 1 tsp cornstarch, whip at medium speed until smooth
Chill for 1 hour before using—firmer texture guaranteed
Essential for summer parties or outdoor picnics:
Increase gelatin to 1/3 tsp per cup of cream
Freeze tools for 10 mins, chill cream until nearly solid
Store desserts in insulated boxes with ice packs below
Watery / separated cream: Don’t toss it! Transfer to clean cold bowl, add 1 tsp cornstarch, whip on low for 1 min, chill 15 min—it’ll recover.
Over-whipped / grainy texture: Add 1–2 tbsp cold cream, fold gently by hand until smooth again.
Hardened after chilling: Let sit at room temp for 5 mins, press and fold with spatula—don’t overmix.
Turned runny after adding liquid: Chill juice/syrup beforehand, for every 2 tbsp added, compensate with ½ tsp cornstarch.
Beginners should whip small batches—500ml is great for practice.
All tools must be completely dry! Even a single water droplet can cause whipping failure.
Want colorful cream? Add stabilizer first, then a tiny bit of food coloring.
Using acidic fruits (like strawberries, mango)? Opt for gelatin stabilizer to counteract acid effects.
Master these techniques and you’ll never fear cream collapse again—whether it’s a layer cake or a fruit tart!
With the help of the right Cream Deluxe Cream Charger, the whole process becomes easier and more efficient.
Practice a couple of times and you’ll get the feel—your desserts will be both delicious and beautifully long-lasting!